
Motorcycle brake pads replacement: how to do it, which parts to choose and how to change them
Brakes are one of the most important components of a motorcycle or scooter: not only because they have the obvious role of slowing the vehicle down to a stop, but because they have to do so in a progressive manner to avoid imbalance during deceleration and excessive tire wear. In this article, we will delve into what there is to know about replacing the brake pads (also simply known as pads) of a motorcycle and scooter; how to tell if the brake pads are worn out and how often to replace them. We will see how much it costs to change the brake pads, how to choose them to replace the original ones, how long it takes, and whether it is something you can do yourself, with a minimum level of manual skill and the right equipment, or whether you need to go to a repair shop.
Motorcycle brake pads: what they are and how they work
The brakes installed on a motorcycle work by means of a hydraulic system. The braking force comes from the pressure exerted by a fluid through a circuit. By pulling the brake lever, the fluid is pumped through the lines to the calipers, which in turn press on the pads and create friction, slowing the bike down. In other words, the pads are said to "bite" the brake discs.
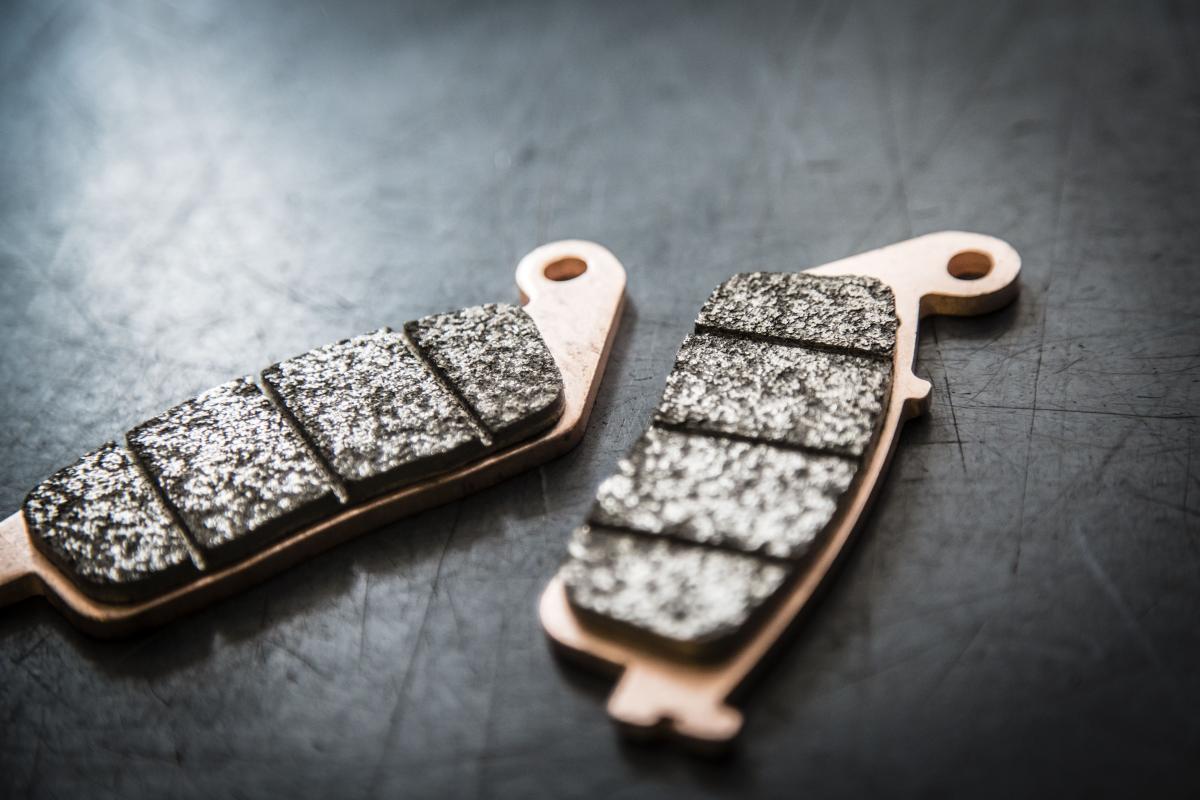
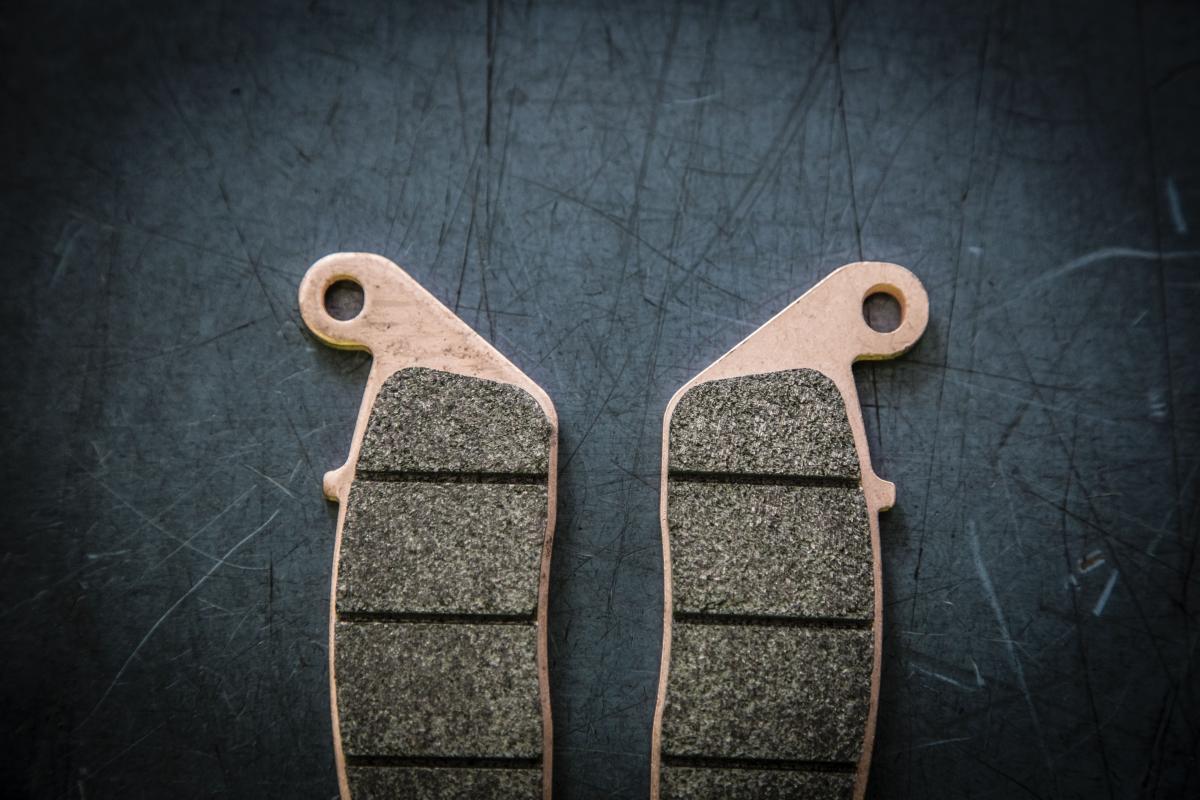
Brake pads consist of a metal plate to which a special mix of materials is applied intended to create friction on the disc, hindering rotation. This mix can be made of different materials, and this is directly linked to the efficiency and durability of the pads. The materials that establish the ability of the calipers to "bite" the discs are mainly metal powders and binder resins. Added to these are polymers, which keep friction uniform, while other abrasive elements have the role of keeping the brake disc clean.
Depending on the substances used, pads can be sintered, usually used in sport bikes, or organic (this subdivision is not exhaustive but represents the majority of pads). The former are mainly made of metal powders, polymers and abrasives. The powders are subject to high pressures and temperatures so that they form a single block without the need for special binders. Organic pads, on the other hand, consist mainly of organic material such as natural rubber, carbon or Kevlar, and binder resins.
How long do brake pads last and how to tell if they are worn out
It is important to know that brake pads should be changed more frequently than discs. You should definitely avoid "running out of pads," meaning leaving too thin a layer of braking material or you run the risk of scratching the discs and compromising their operation.
Fortunately, figuring out whether brake pads need to be replaced is quite simple and no tools are required. The first check is empirical on the actual braking: if you feel that the braking distance is longer, check the condition of the pads. Other clues may be slight vibrations; a trend to unstable deceleration (this may also depend on the tires); any metallic "whistling" from the wheels; or, simply the brake wear indicator on your bike's display lights up.
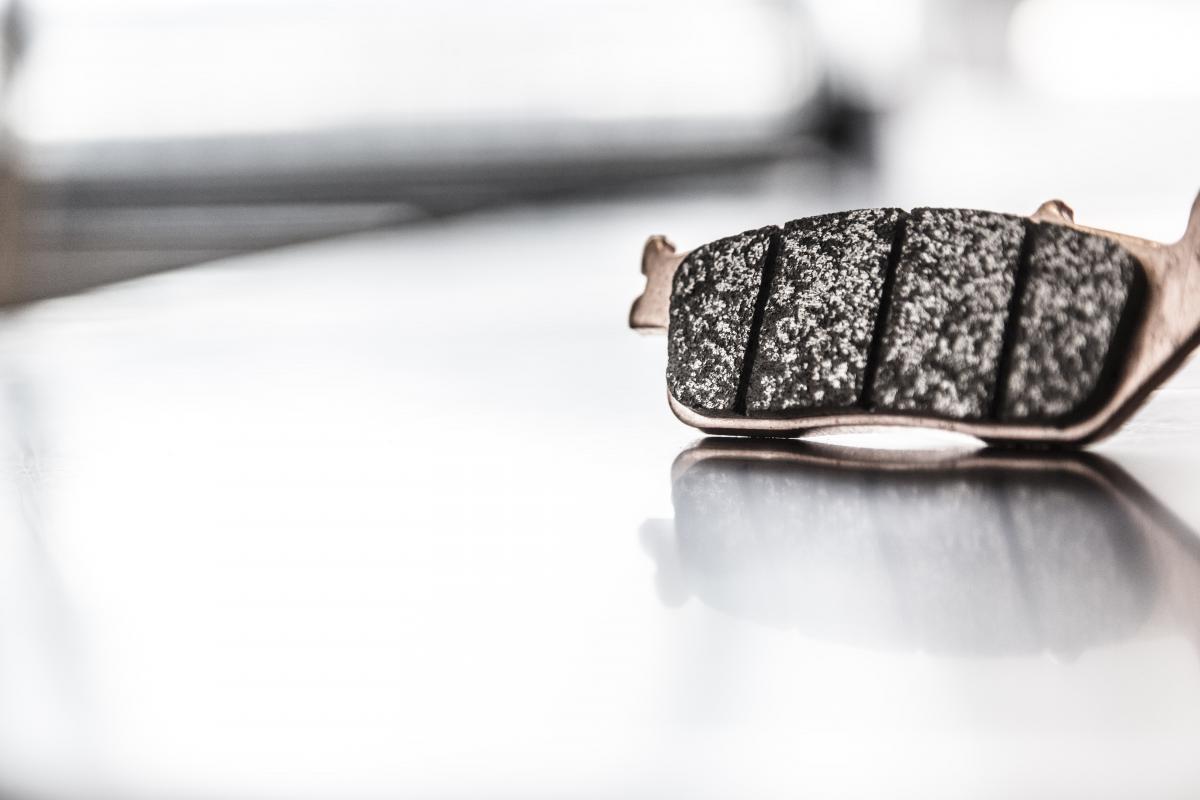
To check wear and tear, you don't need to disassemble anything: just look at the pads possibly with the help of a flashlight, from the special window located on the caliper (if your motorcycle features radial mount). The pads are the ones in direct contact with the disc: to ensure proper operation, there must be a sufficient layer of braking compound and, above all, they must be worn evenly on both sides. Some pads have wear and tear indicators in the shape of grooves made in the friction material, which must be clearly visible. If they are no longer visible, it means it is time to replace the pads.
When to change brake pads and what happens if no action is taken
We have seen that anyone can figure out whether the brake pads need to be changed. But what happens if you delay replacement? Excessively worn pads lead to less efficient braking and greater risks for the driver and passengers. The effect is further amplified if, in addition to worn pads, the disc is also worn out.
Brake pads can also become contaminated with oil residue or sludge, glaze, wear unevenly, crack, and even char (when a whitish tint is seen on the outer edges). All of these problems may damage the discs and even lead to vibration, instability, and most importantly affect effective braking.
But how often should brake pads be replaced? On a motorcycle and scooter, brake wear is not directly related to a specific mileage; rather, it depends on multiple factors, such as the type of roads you ride on and your riding style. Cross-country and off-road motorcycles, which usually accelerate and brake frequently, generally experience more wear and tear. In this case, it is important to choose brake pads with a compound suitable for operating in extreme environmental conditions such as mud and dust, while maintaining good performance.
How much does it cost to replace motorcycle brake pads?
Replacing brake pads can be carried out by any qualified mechanic and even be done directly, if you have a minimum of manual skill and the necessary tools. Roughly speaking, this service costs around $100 at a repair shop. If you do it yourself, it will amount to the cost of the pads: the Athena website always clearly shows the prices of replacement kits.
Which motorcycle brake pads to choose and how to change them directly
Athena markets motorcycle brake pads from AP Racing and Moto Master, among the top manufacturers of brake pads for scooters and motorcycles. The range includes parts for off-road, motocross, enduro, quad, All Terrain Vehicle (ATV) and utility vehicle (UTV) motorcycles, and parts and accessories for street, custom, scooter and Vespa two-wheelers. On the Athena website you can choose from hundreds of different brake pad models for the vast majority of motorcycles and scooters on the market. The data sheet for each model specifies the compatible vehicles: you can search by motorcycle and scooter model, and you can also download the complete AP Racing catalog with the full list of compatible models.
So let's see what steps to follow to change the brake pads.
- Check the oil level. It is advisable to bring the oil level to the minimum because it is a corrosive component that, if leaked, would risk ruining the bike paint. This can be done with a syringe.
- Remove the old pads. Reaching for the front calipers nowadays is easier than in the past: without disassembly, simply slide them out of the drawer system where they are seated. Remove the cotter pins that secure the pads with the help of a screwdriver and remove the pins using pliers. Reaching the rear brake pads instead is slightly more complex, because you have to remove the brake caliper by unscrewing the bolts that anchor it to the plate. If they are stuck, use an unlocking spray. Once the plate is removed, follow the steps already described for removing the front brake pads.
- Loosen the pistons. Loosen up the pistons that lock the pads in place with a fairly large flathead screwdriver, using it to apply pressure to either side of the pads. This must be done carefully without scratching the disc with the screwdriver. When the pistons are fully retracted, the worn brake pads can be removed.
- Install the new pads. Replace the pads, inserting them where the ones just removed were. Position the small sheet metal casing to hold them in place at the base and reinsert the pins that hold them in place. Using the pliers, reinsert the cotter pins back into their original place and rotate the pins to allow the cotter pins to fit below the sheet metal. Installation is complete.
- Perform the final checks. Check the amount of oil in the system and caliper the brakes several times to return the pistons to the proper position. Then check the brake fluid level again, adding new fluid if necessary. Do not use old oil.
Ready, set, go...? Maybe not yet. In fact, brake pads need to be "broken in," both mechanically, so that they adhere best to the microgrooves in the discs when the brakes are applied, and especially thermally. In fact, the pads must be brought up to temperature by braking slightly and decelerating, then allowing a few seconds for them to cool. A complete break-in depends on the type of pads and is achieved approximately after about 180 to 200 kilometers. Organic pads need a longer settling time than the sintered ones because of their resins. If the break-in is not carried out, or is too short, the resins move towards the surface of the pad depositing on it and creating a patina that greatly reduces the braking effect (this is called vitrification).
Brake pads are the components that need to be replaced most frequently, but they are not the only component requiring maintenance in the braking system. On the Athena website you can choose from a wide range of brake discs, front and rear calipers, brake system hoses, levers and other components, both for road bikes and for motocross and off-road bikes.
Modificato il 16 February 2026
Ask the expert
-
 Ask the expertAuto
 -
 Ask the expertMoto
 -
 Ask the expertMoto