
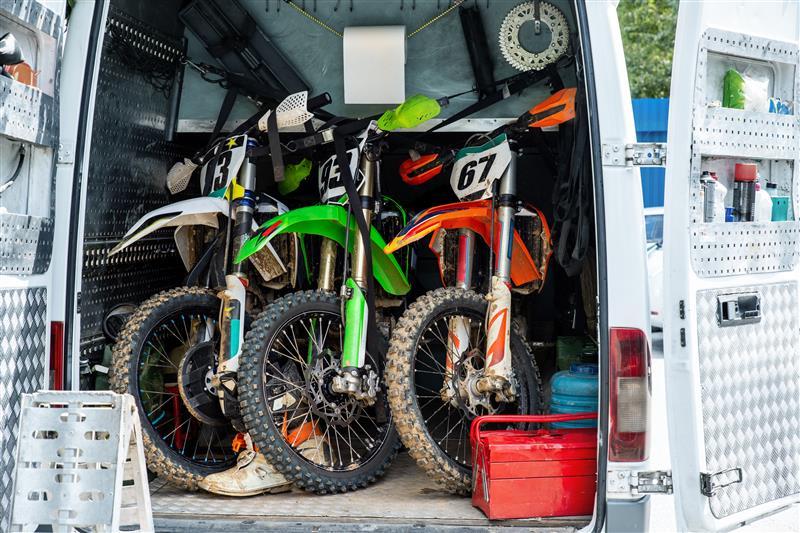
How to Winterize a Motorcycle: Checklist and Best Way to Do It
Preparing a motorcycle for winter is one of the most effective ways to ensure your bike starts reliably when spring arrives, prevent mechanical wear, and protect performance. Cold temperatures, moisture, and prolonged periods of inactivity can affect every mechanical system: engine oil thickens, batteries discharge more quickly, and fuel becomes unstable.
In this guide, you’ll learn how to winterize a motorcycle step-by-step, which tools and products you need, how to care for the battery, fuel system, tires, and metal components, and how Athena parts can support long-term reliability.
Why Winterizing Matters and What Happens if You Don't Do It Properly
There are very specific reasons why winterizing a motorcycle matters, and they all come down to protecting the bike from what winter does to the components.
When temperatures regularly drop below 50 °F (10 °C), several chemical and mechanical processes start working against your motorcycle. Engine oil becomes thicker at start-up, reducing its ability to lubricate moving parts during the first few seconds of ignition. At the same time, the battery slowly self-discharges in cold conditions, weakening over time and making it harder for the engine to start after weeks of inactivity.
Moisture also begins to condense inside the gas tank, crankcase, and electrical connectors, creating a perfect environment for corrosion. Because modern gasoline contains ethanol, the fuel itself becomes unstable: ethanol absorbs water from the air, separates from gasoline (phase separation), and forms sticky varnish-like deposits that can clog fuel injectors and carburetors.
All of this means that a motorcycle parked for the winter without any preparation is much more likely to suffer hard starting, poor running, electrical problems, and visible corrosion when spring comes.
When to Start Winterizing Your Motorcycle
The best time period to winterize your motorcycle depends strongly on your local climate and riding habits. In most temperate regions, the best window falls between late October and early December, when night temperatures drop below roughly 50 °F (10 °C) and consistent riding becomes less likely. In milder climates, riders may safely postpone winterization until December or January, provided the motorcycle is still regularly warmed up and maintained.
Beginning too late increases the risk of moisture buildup, while starting too early means cutting the riding season short unnecessarily. Once you’ve identified the right moment, it’s time to gather the tools and products that make the process smoother and safer.
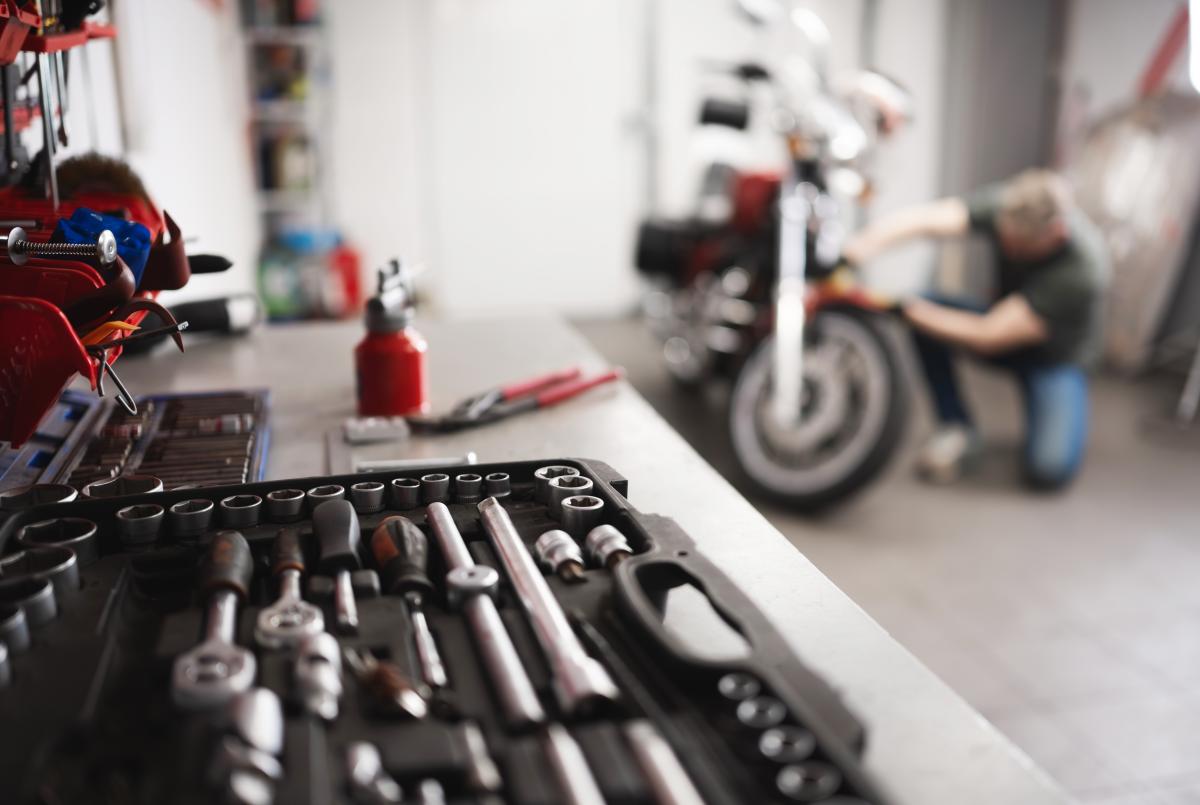
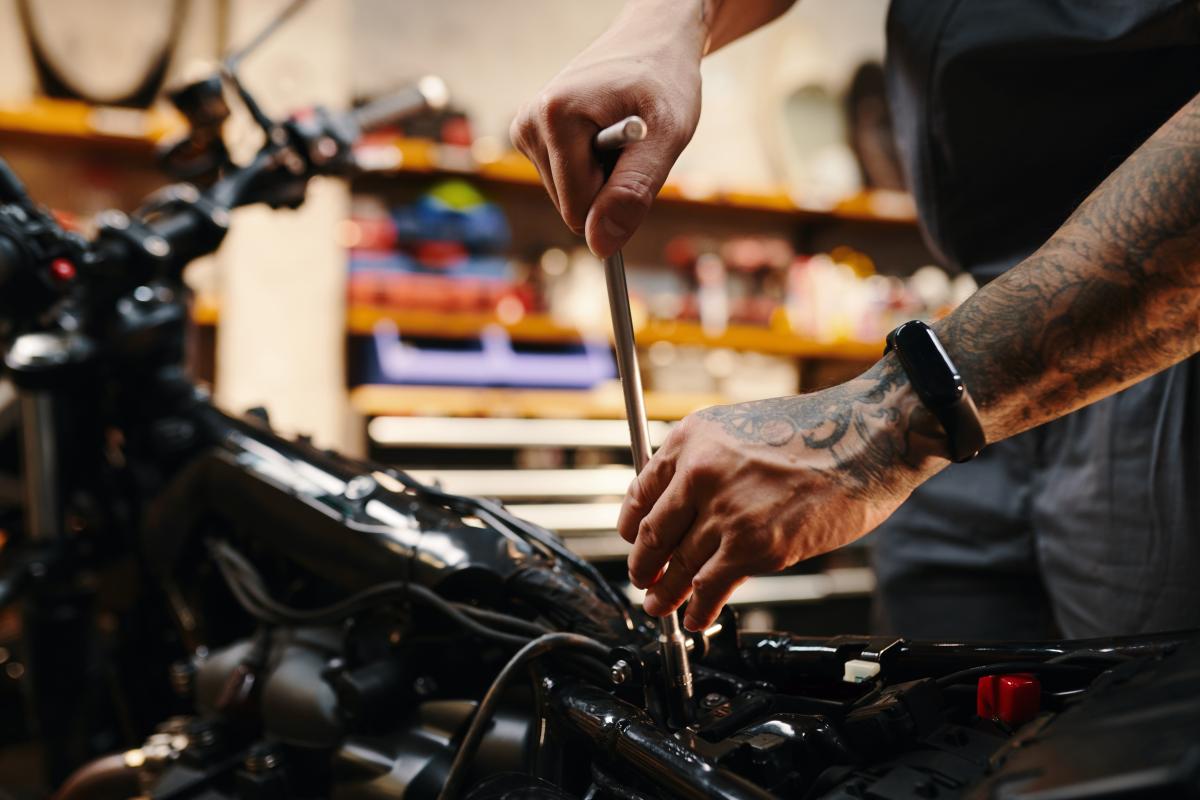
Tools, Products, and Athena Components You’ll Need for Motorcycle Winterization
Before you begin winterizing your motorcycle, set up a clean, dry, and well-lit workspace. A controlled environment makes each step easier and reduces the risk of contamination from moisture or debris. Start by gathering the essential tools:
- Front and rear paddock stands: useful for lifting the bike and reducing tire load. On off-road or adventure motorcycles, a center stand can serve the same purpose.
- Complete tool set: wrench set, screwdrivers, and pliers for basic inspections.
- Additional items: a funnel, microfiber cloths, and a tire pressure gauge.
Next, keep essential consumables close at hand:
- Fuel stabilizer: crucial for preventing fuel degradation and injector gumming
- Chain cleaner and chain lubricant: for removing contaminants and protecting rollers
- Anti-corrosion spray: for exposed metal parts
- Mild motorcycle-safe degreaser: for final cleaning
Electrical care is just as important. Connect the battery to a smart charger or maintainer (0.8–1 A, float mode) which should be a model designed specifically for motorcycle use.
Winterization also offers an ideal moment to inspect or replace worn-out components. Elements such as spark plugs, fuel filters, air filters, gaskets, and engine oil filters play a major role in maintaining efficient combustion and smooth performance. It’s also wise to check the drive chain and sprockets, brake pads, and coolant quality, since these components degrade gradually and can affect safety if they are ignored.
If any of these parts need replacement, Athena provides a wide range of precision motorcycle components designed to maintain performance season after season. With all tools ready, you can move into the step-by-step winterization checklist.
Motorcycle Winterization Step-by-Step: A Detailed Checklist
Once tools and products are in place, the next step is turning winter prep into a clear, repeatable checklist. A structured approach is the most effective way to winterize a motorcycle without missing a critical step, from cleaning and inspection to fuel, fluids, battery, and storage.
Step 1: Clean, Inspect, and Pre-Treat Your Motorcycle
Start by washing the entire motorcycle, including the underbody, chain, and wheels. Use a motorcycle-specific cleaner and rinse thoroughly. Drying is essential: moisture trapped beneath the seat, around bolts, or within crevices can cause corrosion during long storage.
Once dry, apply wax (in case of street motorbike), protective coatings, or ceramic sprays to painted surfaces. These treatments create a physical barrier against moisture and dust. Inspect the bike carefully: check bolts, fasteners, hoses, and seals for cracks, leaks, or signs of stress. Lubricate pivot points, throttle, and clutch cables, and apply a light coat of anti-corrosion spray on exposed metal areas such as the frame joints or exhaust.
Many riders also plug the exhaust and intake openings with breathable materials to keep out moisture and pests — a simple precaution that prevents unexpected springtime issues. With the exterior protected, the next step is stabilizing the fuel system.
Step 2: Winterize Motorcycle Gas Tank: Fuel System Treatment
Fuel degradation is a major winter storage problem for motorcycles. Chemical aging forms sticky deposits that can damage the fuel tank, injectors, and carburetors.
To prevent this:
- Fill the tank completely to reduce air volume and condensation.
- Add the recommended dose of fuel stabilizer, following the product label.
- Run the engine for 5–10 minutes so the stabilizer circulates through injectors or float bowls.
For carbureted motorcycles, draining the carburetor float bowls or closing the fuel petcock is recommended to prevent varnish buildup.
Is it better to store a motorcycle with a full or empty tank?
A full tank of gas is generally safer, as it minimizes internal condensation. The fuel also becomes a protective barrier and lubricates seals and fuel lines.
Do you need to winterize a fuel-injected motorcycle?
Yes, stabilizer prevents injector gumming and protects fuel lines.
Step 3: Changing Oil and Fluids Before Storing Your Motorcycle
With clean, treated fuel, the next step is to replace or refresh the fluids that protect internal components. To remove old engine oil effectively, it is recommended to warm up the motorcycle beforehand. Once the engine reaches operating temperature, open the drain plug and remove the oil filter. Warm oil flows more easily and drains at a lower density, allowing a more complete removal of contaminants from the engine.
Oil degrades during normal operation, collecting moisture, acids, and combustion by-products. These contaminants remain active during storage and can corrode internal engine surfaces unless removed.
Before winter storage:
- Change the engine oil and filter, using the grade recommended by the manufacturer.
- Inspect the coolant, replacing it if its protective properties are diminished.
- Check brake fluid levels, and change the fluid if it is older than two years.
Should you change the oil before storing a motorcycle?
Absolutely. Fresh oil protects bearings, rings, and internal channels while the motorcycle is inactive.
Step 4: How to Winterize a Motorcycle Battery
Winter battery protection becomes the next essential step in winterizing a motorcycle, as cold temperatures are the enemy of lead-acid and AGM motorcycle batteries.
To prevent deep discharge:
- Disconnect the negative terminal or remove the battery entirely.
- Connect it to a smart charger or battery maintainer (0.8–1 A, float mode).
- Store the battery indoors, in a dry place, at temperatures above 10°.
Avoid starting the engine during storage. Short start-ups do not allow the engine to reach operating temperature, which produces condensation inside the exhaust and crankcase — precisely the conditions you are trying to prevent.
For reliable battery care, the Athena battery maintainer delivers steady voltage control and protects against overcharging during the winter months. With the electrical system secured, you can move on to tires and suspension.
Step 5: How to Winterize Motorcycle Tires and Suspension
Motorcycle tires naturally lose pressure over time, and long periods under load can cause flat spots. To avoid this during winter.
- Inflate the tires slightly above normal riding pressure to offset winter leakage.
- Lift the motorcycle on paddock or central stands to remove sustained weight from the tires.
- If stands are not available, roll the motorcycle a few inches every two to three weeks to change the contact patch.
Clean and inspect the fork seals and suspension components, removing contaminants that could degrade rubber elements during storage. With the wheels and suspension protected, the next step involves safeguarding electrical and metal components from corrosion.
Step 6: Protect Electrical and Metal Parts Before Storage
Motorbike electrical connectors, terminals, exposed wires, and frame joints are especially vulnerable to oxidation during winter. Treat these areas with dielectric grease, applied sparingly to connectors and corrosion-inhibiting sprays for metal surfaces, bolts, and brackets.
Also inspect the exhaust shield, engine casings, and frame welds, applying a light protective layer where needed.
Step 7: Storage Conditions and Covering
Focus on creating the right storage conditions for your motorcycle. A proper storage environment makes a significant difference in preventing moisture damage.
For best results:
- Use a breathable indoor motorcycle cover — avoid plastic covers that trap condensation.
- Store the bike in a dry, ventilated area, shielded from direct sunlight and major temperature fluctuations.
- Raise the motorcycle up and off a cold concrete floor using wood planks or rubber mats.
Reactivating the Motorcycle in Spring After Storage and How to Cold Start It
Winterizing a motorcycle is only complete if you also plan how to bring it back on the road safely in spring. When temperatures rise, and you’re ready to ride again, start by removing the cover and performing a careful visual inspection for moisture, pest activity, and leaks. Reinstall the battery and confirm that its voltage is within the battery’s normal operating range before attempting to start the engine.
Next, check:
- tire pressure
- fluid levels (oil, coolant, brake fluid)
- brake operation and cable condition
- lights, indicators, and horn
Start the engine and allow it to idle for 3–5 minutes without revving aggressively. A gentle warm-up allows oil to circulate fully and helps the engine reach stable operating temperature. Afterward, take a short test ride to confirm throttle action, brake response, and overall handling.
How to Winterize a Motorcycle: Final Tips from Athena Experts
Winterizing isn’t only about long-term storage — it’s about preserving performance, reliability, and safety in every season. Even if you plan occasional winter rides, adopting a lighter version of this routine can make a big difference: keeping the battery on a maintainer, cleaning the chain more frequently, and checking tire pressure regularly all help maintain optimal performance.
Riders storing their motorcycles for the entire winter benefit even more from a full winterization checklist. Preventing fuel degradation, corrosion, and battery drain reduces springtime repairs and extends the life of critical components. Throughout the process, relying on Athena’s high-quality motorcycle parts — from filters and gaskets to battery maintainers — ensures your bike remains in excellent condition and ready for the next riding season.
Modificato il 16 January 2026
Ask the expert
-
 Ask the expertMoto
 -
 Ask the expertMoto
 -
 Ask the expertMoto