
Why does the voltage regulator burn out on a motorcycle? Symptoms of failure and how to check if it works
When a motorcycle starts having trouble starting, the lights dim at idle or the bulbs burn out too often, the first suspect is almost always the battery. In reality, one of the most common causes is the voltage regulator, a fundamental component of the electrical system.
In this article we take a closer look at its role and what happens when it stops working properly. We will see which are the most frequent symptoms of a faulty regulator, how to check its condition with simple tools like a multimeter, and which precautions to follow for a correct replacement.
You will also find an overview of Athena’s solutions for motorcycle electrical systems, designed to ensure reliability and long-lasting performance.
Video tutorial – How to check the motorcycle voltage regulator
In this episode of Athena Tech Corner, our technicians explain step by step how to check that the voltage regulator is working correctly, using simple tools such as a multimeter.
Find out how to recognize the symptoms of a faulty regulator, how to test it and how to replace it with an Athena plug & play spare part, compatible with the main motorcycle models.
Watch the full video on YouTube:
What the voltage regulator is and what it does on a motorcycle
The voltage regulator is one of the most important components of a motorcycle’s electrical system: it works together with the stator and ensures that all the energy produced by the engine is managed correctly.
While riding, the stator generates alternating current (AC). The amount of energy produced depends directly on the engine speed: the higher the rpm, the more voltage is generated.
However, this current cannot be used directly by the battery or the motorcycle’s electronic devices — and this is where the regulator comes into play.
The voltage regulator has two main functions:
Rectifying the current, converting it from alternating current (AC) to direct current (DC) through an internal diode bridge.
Stabilizing the voltage, keeping it within the optimal range — generally between 13.5 and 14.5 V — to prevent spikes or drops that could damage the battery or sensitive components such as the ECU, LED headlights or instrumentation.
In addition to stabilizing the voltage, the regulator dissipates the excess energy that the motorcycle does not use. It does this through an electronic control section combined with an aluminum heat sink (the typical finned body), essential for dispersing the heat generated.
Thanks to its function, the current produced by the stator can be used to:
recharge the battery,
power the headlights, indicators, dashboard and ECU,
support accessories such as USB sockets, heated grips, GPS devices and more.
If the regulator does not perform one of these tasks correctly, the entire electrical system becomes unstable — and many of the most common symptoms of an electrical fault start to appear.
Where the voltage regulator is located on a motorcycle
The voltage regulator is generally located near the battery or mounted directly onto the frame, in a position where air can flow while riding. It’s not an “open area” in the literal sense, but a location designed to help the regulator cool down as the motorcycle moves.
On many motorcycles, for example, it is positioned:
under the side fairing, close to an air intake;
on top of the frame, near the steering head or the fuel tank, where airflow reaches indirectly;
behind a vented fairing, which channels air toward the heat sink;
or near the radiator, in a spot exposed to airflow but protected from splashes and debris.
The regulator is easy to recognize thanks to its aluminum finned structure, a real heat sink that needs airflow to dissipate the heat generated during operation.
On newer motorcycles or scooters, it may also be located close to the stator or integrated into an electronic module. As a general rule, to locate it you can follow the wires coming from the stator: they almost always lead directly to the regulator’s connector.
To identify it more precisely, it can be helpful to start from the wiring coming from the stator, even if you’re not familiar with this component. The stator is connected to the regulator through a specific connector, usually made up of three yellow wires (in most common three-phase systems) or two wires in older single-phase systems.
These wires have features that make them easy to recognize:
they are all the same color (usually yellow),
they come from a wiring loom that exits the engine crankcase,
they end in a direct connector to the regulator, with no splits or branches.
Unlike the wiring for relays or ECUs — which often includes more wires of different colors — the stator wires are few, uniform and dedicated exclusively to connecting to the regulator.
For this reason, once you locate the group of wires coming from the engine, following them will almost always lead you straight to the voltage regulator.

Why the voltage regulator burns out
When a motorcycle starts showing symptoms such as a battery that doesn’t charge, flickering lights or difficulty starting, one of the first suspects is the voltage regulator. Understanding why a voltage regulator burns out is useful not only to recognize the signs of a fault, but also to prevent damage to the stator, the battery and the rest of the electrical system.
Before even asking how to check if the voltage regulator is working, it is important to understand the conditions that put it under stress and speed up its deterioration.
The regulator never fails without a reason: it is a component that works constantly, managing the current produced by the stator and keeping the voltage within safe values. When something in the system is no longer balanced, the regulator is the first to suffer the consequences.
Here are the most common causes:
Overheating
This is the most frequent cause. If the regulator is installed in an area with limited airflow, if the heat-sink fins are dirty, or if the engine heat reaches it directly, the internal temperature increases until the electronic components are damaged. An overheated regulator can hardly keep the voltage stable.
Oxidized cables or connectors
Oxidation or a poorly tightened connection generates electrical resistance. Where resistance is present, energy turns into heat, and this can quickly lead to regulator failure. Additionally, a deteriorated connector alters the voltage the regulator receives from the stator or sends to the battery.
Electrical overload
Installing auxiliary headlights, heated grips, USB sockets or other accessories without checking the system’s limits leads to a constant increase in electrical load. The regulator has to compensate, ending up working beyond its capacity.
Faulty stator or weak battery
If the stator produces irregular or excessively high voltage, the regulator must continuously “cut” the excess energy, causing overheating.
Conversely, a very weak battery forces the regulator to maintain maximum charging effort at all times, increasing stress on the internal components.
Vibrations, humidity and temperature changes
Especially on enduro motorcycles or bikes used all year round, vibrations and harsh weather conditions can damage solder joints, electronic tracks and internal seals. Humidity, in particular, accelerates the oxidation of contacts.
How to prevent the problem
Keeping the regulator clean, ensuring proper airflow, checking the connectors regularly and replacing a worn-out battery are simple measures that significantly reduce the risk of failure.
Symptoms of a faulty voltage regulator on a motorcycle
The most common signs are:
- Battery not holding a charge
Even after using an external charger, the motorcycle struggles to start or discharges within a few days.
- Flickering or dimming lights at idle
Headlights that “breathe”, weak turn signals or bulbs that burn out frequently indicate unstable voltage.
- Unstable dashboard
Warning lights turning on and off without reason, gauges resetting or jumping while riding.
- Unexpected engine shut-offs or difficulty idling
Irregular voltage can affect the ECU and ignition system, causing the engine to stall.
- Popping noises or irregular power delivery
An inconsistent power supply can result in small gaps in acceleration or popping from the exhaust.
If you notice more than one of these symptoms at the same time, it is advisable to check the condition of the regulator and the entire charging system as soon as possible.
How to check if the voltage regulator works or is faulty: step-by-step test
To check whether the voltage regulator is functioning correctly, you don’t need complex tools: a simple digital multimeter is enough. It’s easy to find online or in hardware stores, and it allows you to measure voltage, continuity and electrical resistance.
Before starting, make sure the motorcycle is stable on its stand and that the battery is not completely discharged, otherwise the test results may be inaccurate.
1. Checking the voltage with the engine off
Connect the red probe to the positive terminal of the battery and the black probe to the negative terminal.
A healthy battery, with the ignition off and no electrical load, should show:
12,4 – 12,8 V → normal value
< 12,4 V → discharged battery
> 12,9 V → battery recently charged or voltage not yet stabilized
This first step establishes a reference point for the following test.
2. Checking the voltage with the engine running (at different RPM levels)
Start the motorcycle and observe how the voltage changes as the engine revs increase.
Here are the reference values:
At idle (1,200–1,500 rpm)
The voltage must reach at least 13 V.
If it stays below 12.5 V, the charging system may not be working correctly. The issue may be the regulator, the alternator (stator) or an oxidized connector.
At mid-range (3,000–4,000 rpm)
This is the ideal point to verify whether the regulator is operating correctly.
The voltage should stabilize between 13.8 and 14.5 V.
If it fluctuates excessively or struggles to rise, the regulator may not be regulating the charge properly.
At high RPM (over 5,000 rpm)
At this point, the regulator must limit the voltage and prevent it from exceeding safe values.
The voltage must not exceed 14.5 V
If it reaches or exceeds 15 V, the regulator is almost certainly faulty and may damage the battery and the bulbs
3. Switching on lights and accessories
With headlights, lights and indicators turned on, the voltage should remain reasonably stable.
Noticeable fluctuations or sudden drops indicate a regulator struggling to compensate for the electrical load.
4. Checking the phases (three-phase stator)
If the motorcycle uses a three-phase stator, you can also check the condition of the three phases:
test the continuity between the combinations of the three yellow wires;
check that none of the phases is in short circuit to the frame (ground).
An anomaly in this step usually indicates a problem upstream, often related to the stator.
5. Inspecting the connectors
Throughout the test, carefully inspect the regulator and stator connectors:
oxidation, burnt plastic or loose contacts can alter the measurements or even simulate a regulator failure.
How to replace and connect the voltage regulator on a motorcycle
Replacing the voltage regulator is an operation that many motorcyclists can carry out on their own, especially on bikes where the component is easy to access. However, it requires attention: an incorrect cable connection or improper installation can compromise the entire charging system.
Before starting, it is important to evaluate three aspects:
Accessibility: on some motorcycles the regulator is easy to reach, while on others it is hidden behind fairings or under the fuel tank.
Condition of the wiring: if the connectors are burnt, oxidized or deformed, it is advisable to have a technician intervene.
Compatibility of the spare part: the new regulator must be suitable for the motorcycle model, the type of stator (single-phase/three-phase) and the power of the electrical system.
If conditions allow, proceed as follows:
Disconnect the negative terminal of the battery to work safely.
Remove the old regulator, unscrewing the mounting bolts and disconnecting the wiring. Check that the terminals show no signs of burning or oxidation.
Install the new Athena regulator, ensuring that the cooling fins are properly exposed to airflow. Connect the wiring by matching the correct position and color of each wire.
Apply thermal paste between the base of the regulator and the frame (if required) to improve heat dissipation.
Reconnect the battery and check the voltage: if the value remains stable around 14 V, the installation is correct.
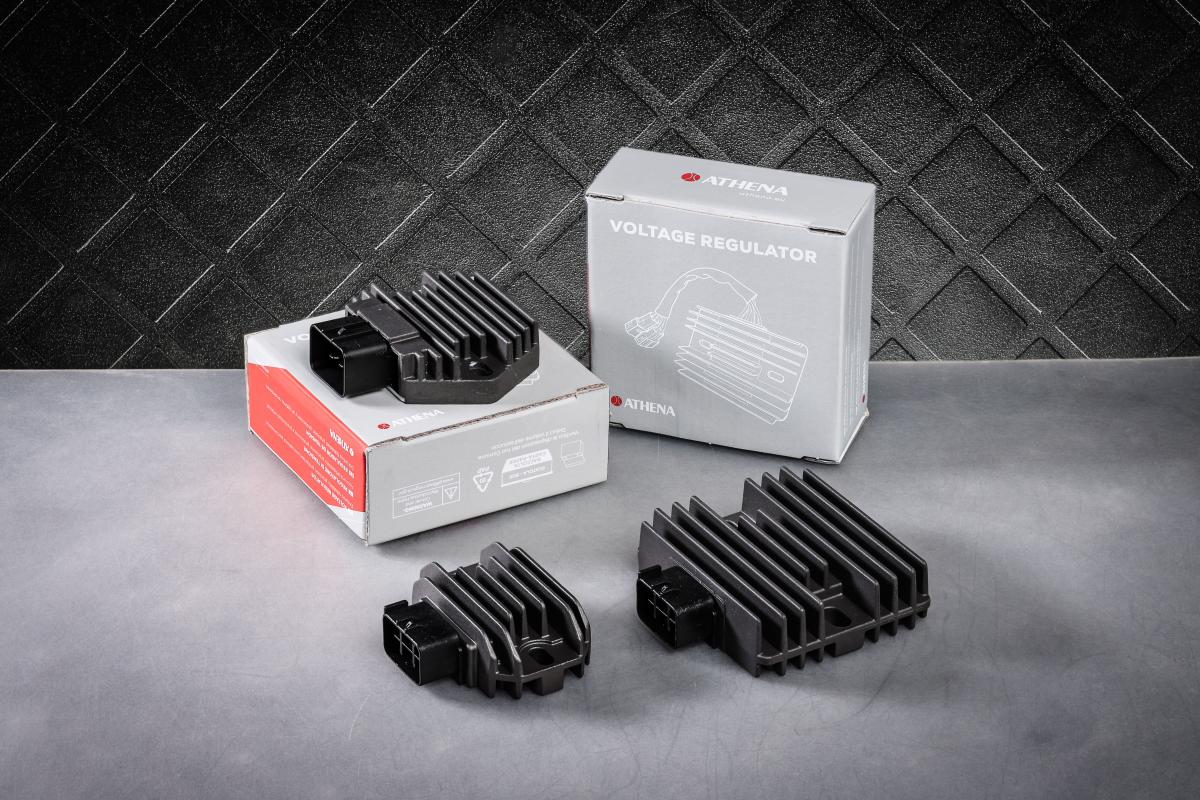
👉 Check the Athena voltage regulator catalog to find the model compatible with your motorcycle.

How to choose the right voltage regulator for your motorcycle: Athena product guide
Choosing the correct regulator is essential to ensure an efficient and long-lasting electrical system.
Always check compatibility with your motorcycle’s model and year. An incorrect regulator can cause malfunctions or unstable voltage.
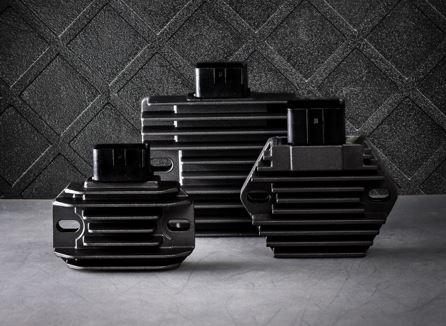
Athena voltage regulators are designed to offer reliability, durability and consistent performance.
Each model is tested and fully compatible with the original electrical system, equipped with plug-and-play connectors for quick and safe installation.
In some cases, additional male and female replacement connectors are included, which we recommend installing when necessary. Always refer to the instruction manual for proper assembly.
Explore the full range in the Athena electrical spare parts section, where you will also find stators, starter relays and starter motors.
Choosing an Athena regulator means relying on the quality of an expert brand that develops solutions designed to guarantee optimal performance over time.
Modificato il 16 February 2026
Ask the expert
-
 Ask the expertMoto
 -
 Ask the expertMoto
 -
 Ask the expertMoto