
How to Set Sag on a Dirt Bike: Adjusting and Measuring It
Setting dirt bike sag correctly is one of the most important steps for achieving optimal suspension performance, handling, and rider comfort. Sag affects how your bike reacts to bumps, jumps, and corners, whether you’re riding on motocross tracks or rough enduro trails.
In the following sections, we’ll explain how to understand sag, set dirt bike sag, how to measure sag on a dirt bike, guide you through adjusting the rear suspension, and suggest general rear shock SAG values. The optimal settings are based on bike type, rider weight, engine size, and the terrain you ride so please refer to motorcycle manufacturer hand book manual.
Choosing selected high-quality Athena suspension components can help you fine-tune your bike, ensuring reliable performance and precise handling on every ride.
What Is Sag on a Dirt Bike and Why It Matters
Sag on a dirt bike is the measure of how much the suspension compresses. There are two main types of sag to consider: static sag, which measures suspension compression when the bike is not loaded, and rider sag, which is the compression with the rider in full gear sitting on the bike in riding position.
For accurate SAG measurements, it is strongly recommended to have two assistants: one to hold the bike and the rider in a balanced position, and another to take the measurement. Also, make sure the bike is placed on a flat surface to avoid reading errors.
Optimizing sag allows the suspension to work within its designed travel range, providing efficient shock absorption, smoother handling, and improved braking performance. It ensures that both the front and rear suspension react predictably to obstacles, whether you’re navigating rocky trails, hitting jumps on motocross tracks, or riding through muddy and uneven paths. By correctly setting sag, riders gain better stability, maintain tire contact with the ground, and can ride more confidently and safely across a variety of terrains. A well-settle suspension also enhances the bike’s ability to handle aggressive maneuvers, maintains traction under acceleration and braking, and reduces rider fatigue by absorbing shock efficiently.
Mastering sag adjustment bridges the gap between beginner-level handling and expert-level control, giving every rider a smooth, more predictable, and safer experience.
How to Measure Dirt Bike Sag Step-by-Step
Measuring your dirt bike sag is a crucial step in achieving the right suspension setup. Although the process is straightforward, precision is essential. To ensure accurate results, follow these steps carefully.
Lift the bike. Use a stand to raise the bike off the ground so the suspension is fully uncompressed.
- Measure the unloaded suspension. Choose a fixed reference point on the frame or fender and measure the distance down to the rear axle for the rear shock, This is the suspension’s starting point before any weight is applied.
- Check the rider sag. Have the rider sit on the bike in their normal riding position, wearing full gear, including helmet and boots. Measure the distance again from the same reference points. The difference between the unloaded and rider measurements is the rider sag, which indicates how much the suspension compresses under actual riding conditions.
Typical dirt bike sag values generally fall between 95mm and 110mm, but the exact number depends on factors that we will explain later. Always record your measurements carefully and double-check them for accuracy.
How to Adjust Sag on a Dirt Bike Suspension
Once you’ve accurately measured your dirt bike sag, it’s time to make adjustments. To get the best handling and stability, you need to adjust sag on rear suspension. Using the right tools and a careful, step-by-step approach, most riders can handle these adjustments themselves. Always double-check your measurements, as even small errors can impact traction, comfort, and overall performance.
Tools You Need to Set Sag on a Dirt Bike
The most important tool to properly adjust your dirt bike sag is the preload adjuster, which is specifically designed to change the tension on your suspension springs. By turning the adjuster, you can increase or decrease the preload compression of your coil spring of the rear shock, allowing you to fine-tune the sag for your weight, riding style, and terrain.
You’ll also need a wrench or spanner to make precise turns on bolts and adjusters, and a measuring tape or sag scale to accurately measure how much the suspension compresses when you sit on the bike.
How to Adjust the Rear Shock Sag
Adjusting the rear shock sag is crucial because it directly affects traction, stability, and how the bike reacts under load, especially on jumps and rough trails. The rear suspension is responsible for absorbing big impacts and keeping the rear wheel planted. The goal is to achieve the right balance between comfort and performance.
- Measure the current sag.
- Adjust the preload using the preload adjuster. If you want a stiffer rear, tighten the spring to reduce sag. On the other hand, if you prefer a softer, more comfortable ride, loosen the spring to increase sag.
- Recheck the sag by having the rider sit on the bike again.
- Repeat as needed until the sag matches your target. Proper rear sag ensures the bike doesn’t bottom out, or reach max compression too easily, and maintains consistent traction during acceleration and braking.
- If both SAG values do not fall withing recommended manufacturing values, the coil spring should be changed, either stiffer or softer according to the bike manufacturer recommendation.
Common Sag Settings on Motorcycles
The ideal sag on a motorcycle isn’t a fixed number — it varies depending on several key factors, including the type of bike, engine size, rider weight, and the terrain you’ll be riding on.
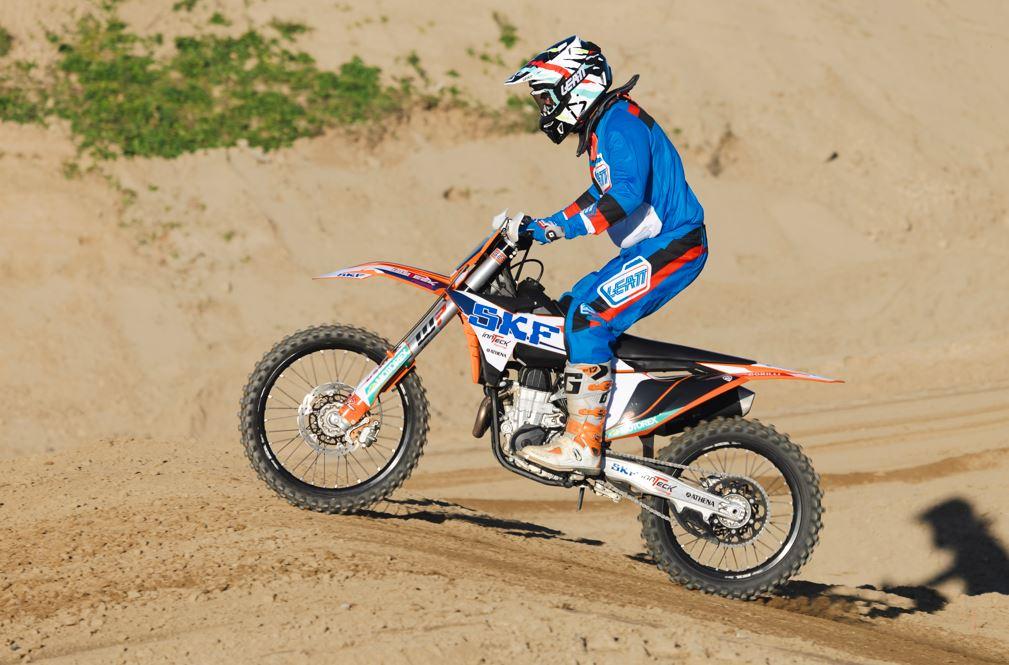
A smaller sag generally results in a stiffer suspension, which can be beneficial for motocross riders or aggressive track riding. Conversely, a larger sag softens the suspension, a setup often preferred for enduro and trail riding.
Next, we’ll provide more details on the common sag settings to help you fine-tune your suspension for optimal performance.
Sag Settings for Motocross vs Enduro Bikes
When adjusting sag, it’s important to consider the type of riding, as motocross and enduro bikes demand different suspension behaviors.
Motocross bikes are built for high-intensity tracks with jumps, sharp corners, and rapid changes in direction. These conditions require stiffer springs and lower sag, typically around 95-105mm, to ensure the suspension can absorb hard landings, remain responsive during aggressive maneuvers, and minimize the risk of bottoming out. Lower sag helps the bike react quickly to the rider’s inputs, providing precise feedback and maintaining control on fast-paced circuits.
Enduro bikes face long off-road trails with varied terrain, including rocks, roots, mud, and uneven paths. For these bikes, a slightly softer suspension with higher sag, generally 100-110mm, allows the suspension to absorb bumps smoothly, improve traction, and provide greater comfort over extended rides. This setup reduces rider fatigue while maintaining control on technical sections and ensures a balanced response front to rear.
Understanding these differences allows riders to fine-tune rear sag according to bike type, rider weight, and terrain, optimizing performance, safety, and confidence whether on the track or on the trail.
How Terrain Affects Sag Settings
The terrain you ride on has a major influence on how your bike’s suspension performs, so it’s important to adjust sag accordingly. On rough, rocky, or muddy trails, a slightly softer sag allows the suspension to absorb bumps and irregularities more effectively, keeping the tires in constant contact with the ground and improving traction.
On the other hand, motocross tracks benefit from a stiffer sag, which enhances stability at high speeds and ensures the suspension handles jumps and quick direction changes with precision.
By tuning your sag to match the terrain, you not only improve comfort and control, but also reduce rider exhaustion, making it easier to maintain confidence whether you’re navigating technical off-road trails or pushing your limits on a fast track.
Adjusting Sag Based on Rider Weight and Engine Capacity
When setting sag, it’s important to consider both rider weight and engine size, as these factors directly affect how the suspension behaves. Lighter riders on smaller bikes don’t compress the suspension as much, while heavier riders or larger bikes need stiffer settings to maintain balance and control.
Here’s some general examples for rear sag based on common bike sizes and rider weights:
- 125cc bike, 60-70kg rider: rear sag around 95mm
- 250cc bike, 70-80kg rider: rear sag around 100mm
- 450cc bike, 80-90kg rider: rear sag around 105mm
Common SAG Values for Off-Road Motorcycles
The table below provides general reference values for different types of off-road motorcycles, including motocross, enduro, trail, and adventure models. These figures represent typical ranges for both race SAG and static SAG, helping you find the right balance between traction, comfort, and responsiveness.
Keep in mind that these are indicative values — always cross-check the handbook manual of your vehicle and adjust the settings according to the manufacturer’s specifications, your riding style, and the terrain you ride on.
Bike Type | Race SAG (with rider) | Static SAG (without rider) | Notes |
|---|---|---|---|
Motocross | 100–108 mm | 30–40 mm | More aggressive and responsive setup |
Enduro (competition) | 100–110 mm | 30–40 mm | Balance between comfort and performance |
Trail / Recreational Enduro | 95–105 mm | 25–35 mm | Greater comfort and versatility |
Dual Sport / Adventure | 90–105 mm | 25–45 mm | Suitable for mixed on/off-road riding |
Rally / Desert Racing | 102–110 mm | 35–45 mm | Stability at high speeds |

Common Mistakes When Setting Sag and How to Avoid Them
Adjusting the sag on your dirt bike is well within reach for most riders, but it still demands care and attention to detail. Even small oversights can impact handling, comfort, and overall control. To help you get it right, here are some of the most common mistakes to watch for.
- Not wearing full gear. Always measure sag while wearing your full riding kit, including helmet, boots, and protective equipment. Rider weight increases when fully geared, and skipping this step can result in sag that’s either too soft or too stiff, affecting control and comfort.
- Using inconsistent reference points. To get accurate and repeatable measurements, pick fixed points on the frame or fork and stick with them every time you adjust the sag. Switching reference points, even slightly, can lead to sag settings that are off and make the suspension behave unpredictably.
- Adjusting on cold suspension. Suspension components react differently when they’re cold. Before measuring or tweaking sag, take the bike for a short ride to warm up the shocks and springs. This ensures your adjustments reflect real-world riding conditions, giving you more consistent handling and performance.
When to Recheck and Readjust Sag Settings
Even if you’ve nailed your sag settings once, it’s not something you can just set and forget. Any time you’ve had major suspension work done or replaced parts, it’s worth double-checking.
Similarly, if you switch between different terrains or riding styles — like moving from smooth motocross tracks to rugged enduro trails — your suspension may need adjustment to maintain comfort, traction, and control.
Even during regular riding, pay attention to how the bike feels. If the rear suspension seems too low, the balance off, you experience unexpected bottoming out, twitchy steering, or unpredictable handling — these are all signs that your sag settings may require fine-tuning.
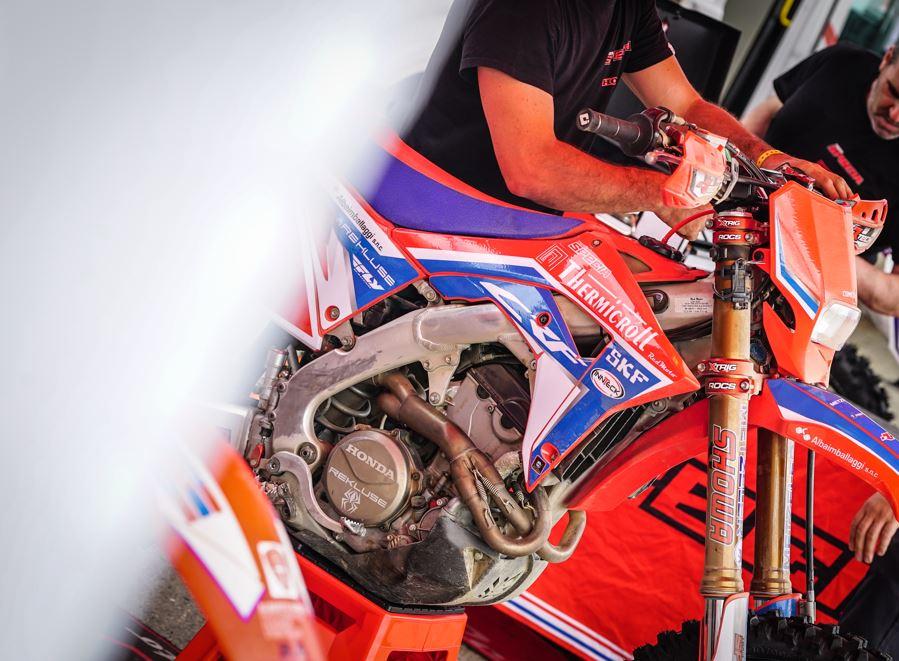
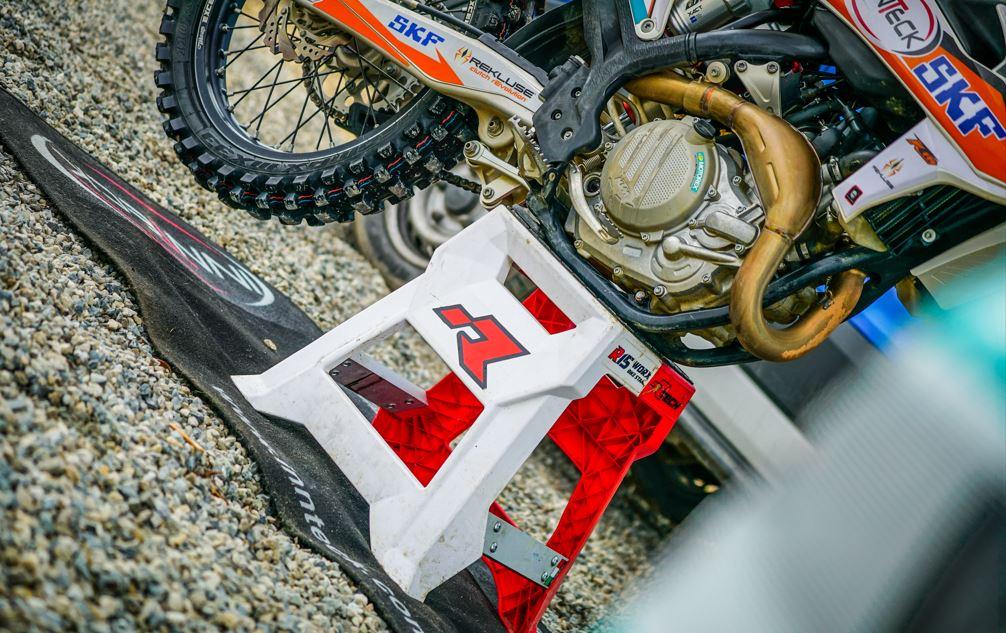
Athena and SKF Suspension Products for Optimal Dirt Bike Sag Settings
Setting the perfect sag on your dirt bike is crucial for performance, comfort, and control, and Athena and SKF offers a complete range of suspension products to help riders achieve optimal settings.
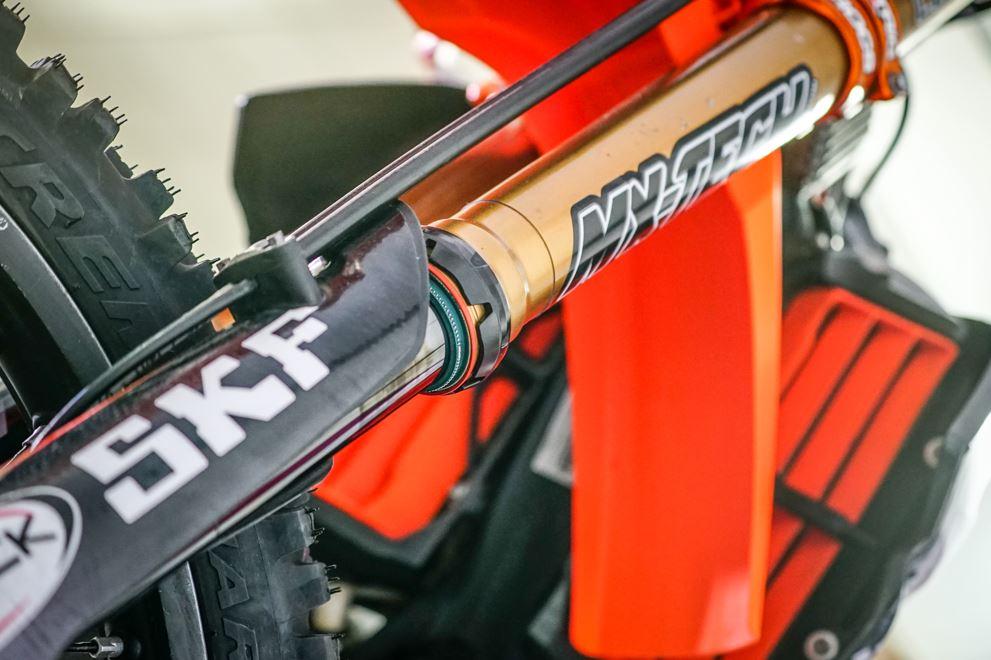
For the front forks, components like fork dust seals, fork oil seals, and complete fork oil seal and dust seal kits ensure smooth compression and rebound, reduce friction, and prevent leaks — essential for maintaining accurate sag settings. Additional elements such as shims and bushings allow for fine-tuning stiffness and travel characteristics, giving riders precise control over their front suspension.
For the rear shock, SKF’s monoshock absorber parts support consistent compression and rebound, making it easier to adjust sag according to rider weight, terrain, and riding style.
Combining these components with other suspension parts, dirt bike enthusiasts can ensure both front and rear suspension behave predictably, improving handling, traction, and comfort across any trail or track.
With Athena and SKF products, learning how to set sag on a dirt bike and how to adjust sag on a dirt bike become ways you can maximize your bike’s performance, maintain suspension longevity, and ride safely with confidence on all types of terrain.
Modificato il 18 December 2025
Ask the expert
-
 Ask the expertMoto
 -
 Ask the expertMoto
 -
 Ask the expertMoto